AsterNOS Uninstallation and Upgrade
Uninstall AsterNOS
Section titled “Uninstall AsterNOS”We support uninstalling software that are not currently in use in AsterNOS, and we also support uninstalling all AsterNOS systems via ONIE to erase the disk of the entire partition where AsterNOS is located.
Uninstall Non-Current AsterNOS
Section titled “Uninstall Non-Current AsterNOS”- Run show image command to view the current AsterNOS system. Example:
sonic# show imageCurrent: AsterNOS_V3.1_R0406P01Next: AsterNOS_V3.1_R0406P01Available:AsterNOS_V3.1_R0406P01SONiC-OS-CX-NB-2.5- Run sonic-installer remove <version_name> command to uninstall older version. Example:
sonic# system bashadmin@sonic:~$ sudo sonic-installer remove SONiC-OS-CX-NB-2.5Remove All AsterNOS Systems
Section titled “Remove All AsterNOS Systems”- Log in to the switch through the serial port and then run reboot command. Wait for a while until the system selection window appears. Please select ONIE within 10 seconds or it will default to enter AsterNOS.
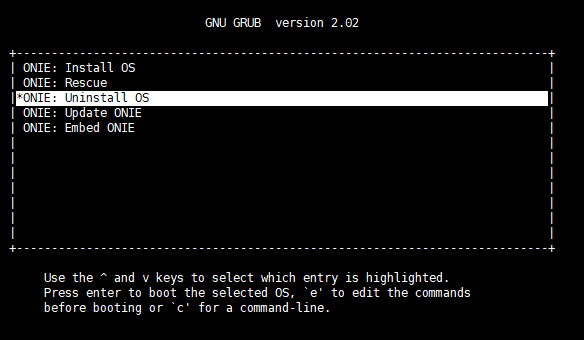
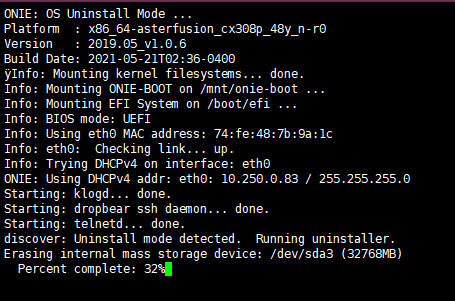
- Later you will enter ONIE GRUB Menu and select ONIE: Uninstall OS. This will take a while to erase all AsterNOS systems and format the partitions.
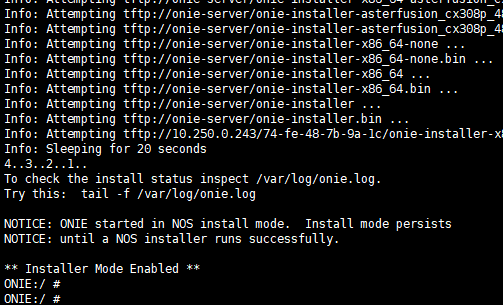
- Wait for some time until the removal is complete, the system will automatically reboot and enter ONIE: Install OS.
Upgrade AsterNOS
Section titled “Upgrade AsterNOS”- Copy the new version of AsterNOS software image to the switch via scp or other methods.

- Log in to the switch through SSH.
ssh admin@10.250.0.232- Execute the following command to install.
image update AsterNOS_V3.1_R0406P01-BRCM.bin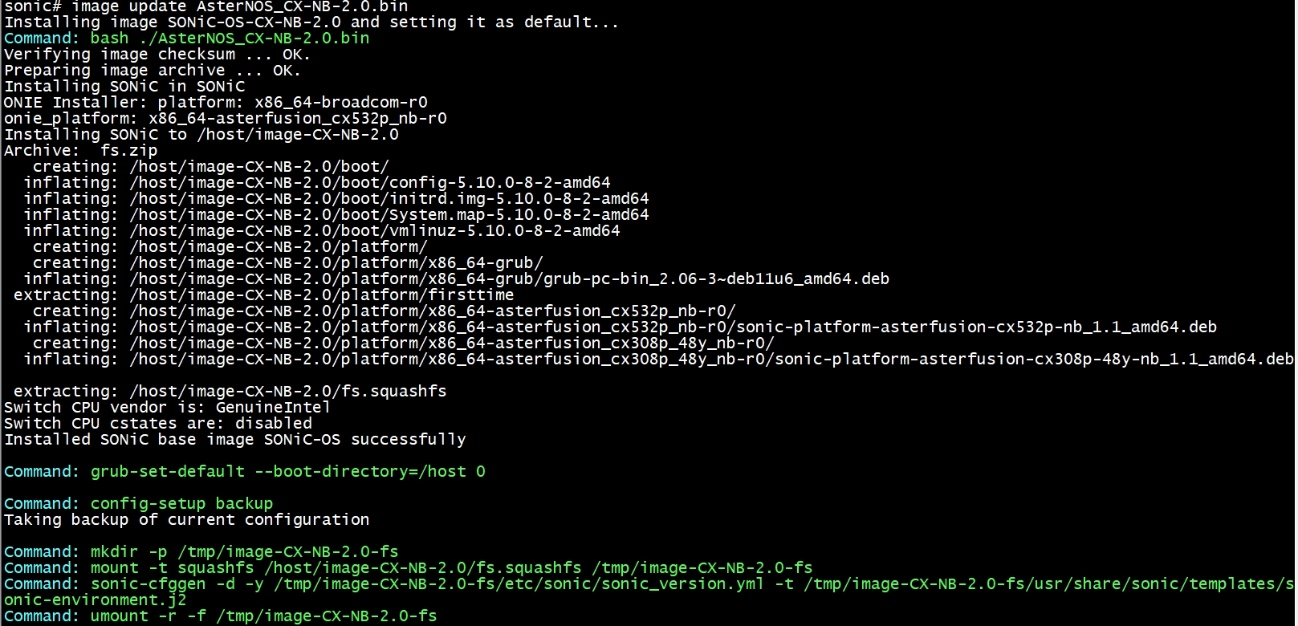
- View the information of AsterNOS system images present in the switch currently.
show image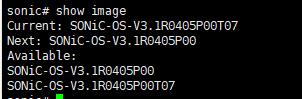
- The new version takes effect after you reboot the switch.
reboot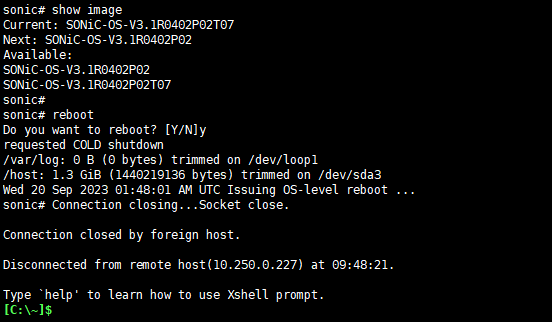
- Re-login to the switch and check the version information. Now the upgrade is complete.
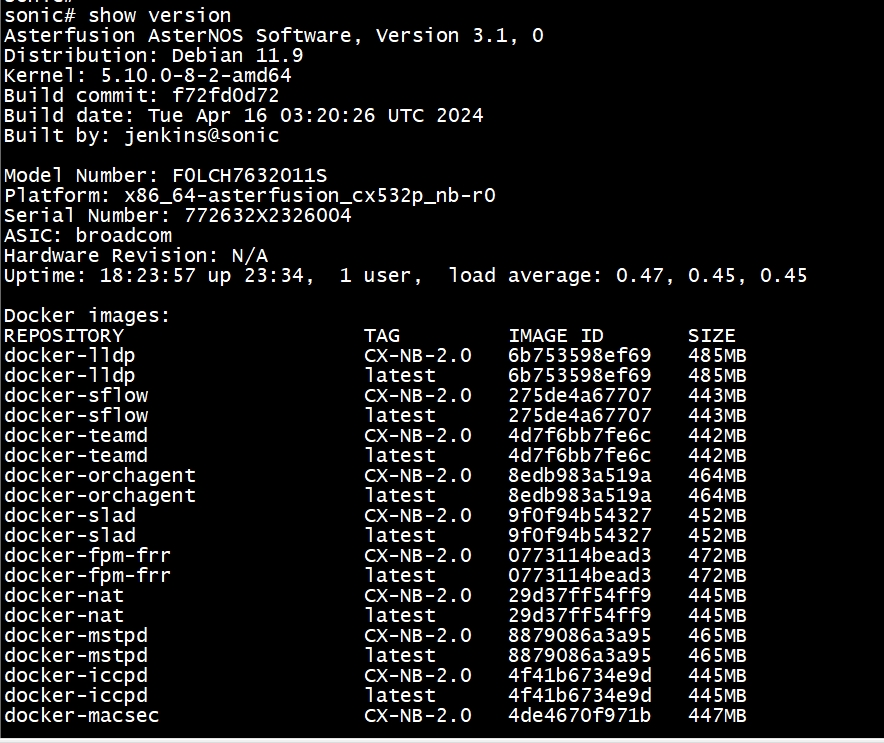
show version