
DHCP/TFTP Service Configuration Guide
此内容尚不支持你的语言。
AsterNOS automatic installation and ONIE automatic update require setting up DHCP to automatically assign IP to the switch and setting up TFTP or HTTP service to host the image server. The following sections describe building DHCP and TFTP services on Windows and Ubuntu platforms.
DHCP, TFTP Configuration on Windows
Section titled “DHCP, TFTP Configuration on Windows”Connect the Windows host to the environment intranet. Please download the Tftpd64 software beforehand.
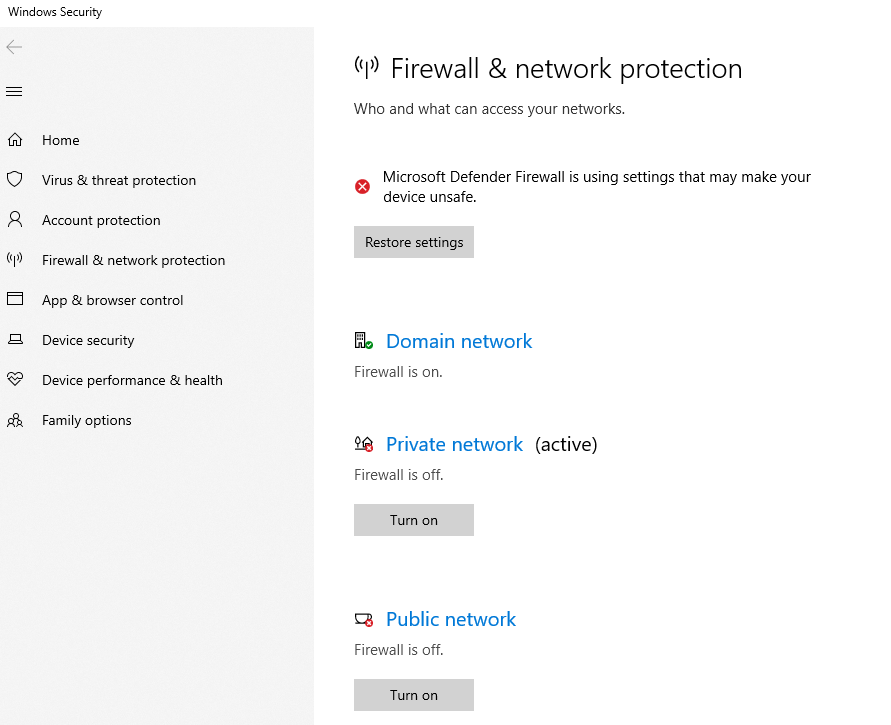
- Disable network firewall.
- Set the IP address of the network adapter to which the switch’s network port is connected and disable other networks.
- Create a new folder for AsterNOS system files and copy the AsterNOS system files into the path
- Set up Tftpd64, configure DHCP, TFTP services
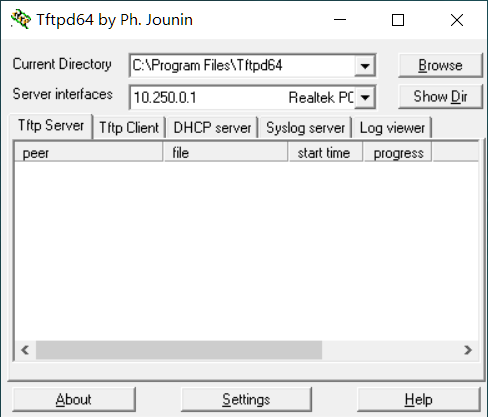
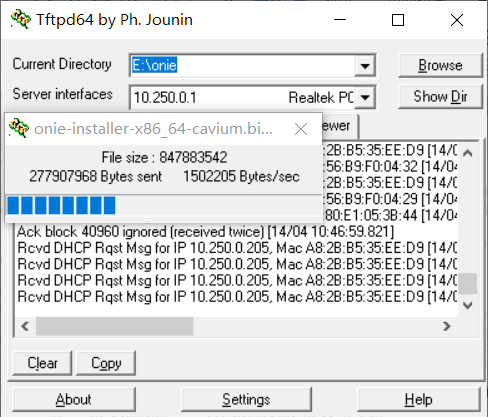
- Open Tftpd64 and select server interfaces.
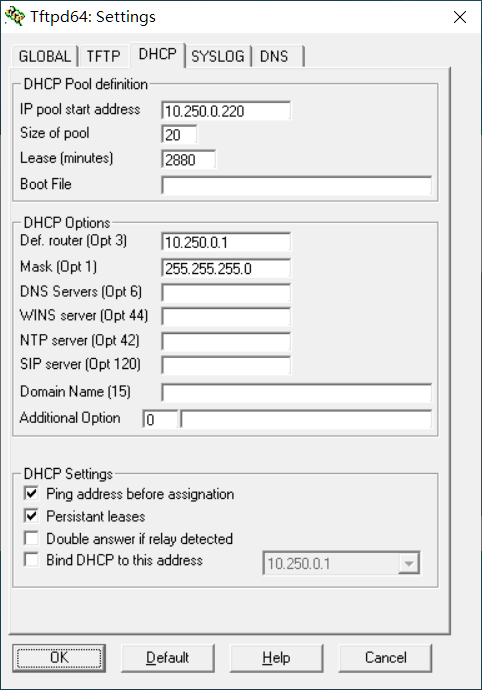
- configure DHCP services DHCP server -> Setting, set the initial IP pool value, IP pool size, default route, subnet mask and click OK to save.
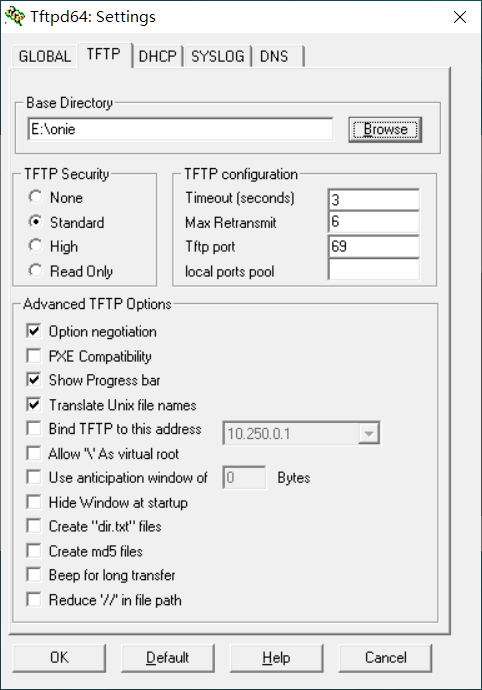
- Configuring the TFTP service TFTP server -> Setting Select the path where AsterNOS is located in the Base Directory field and click OK to save
- Check the configuration Click Show Dir to see if the TFTP configuration root directory is correct and if AsterNOS exists.
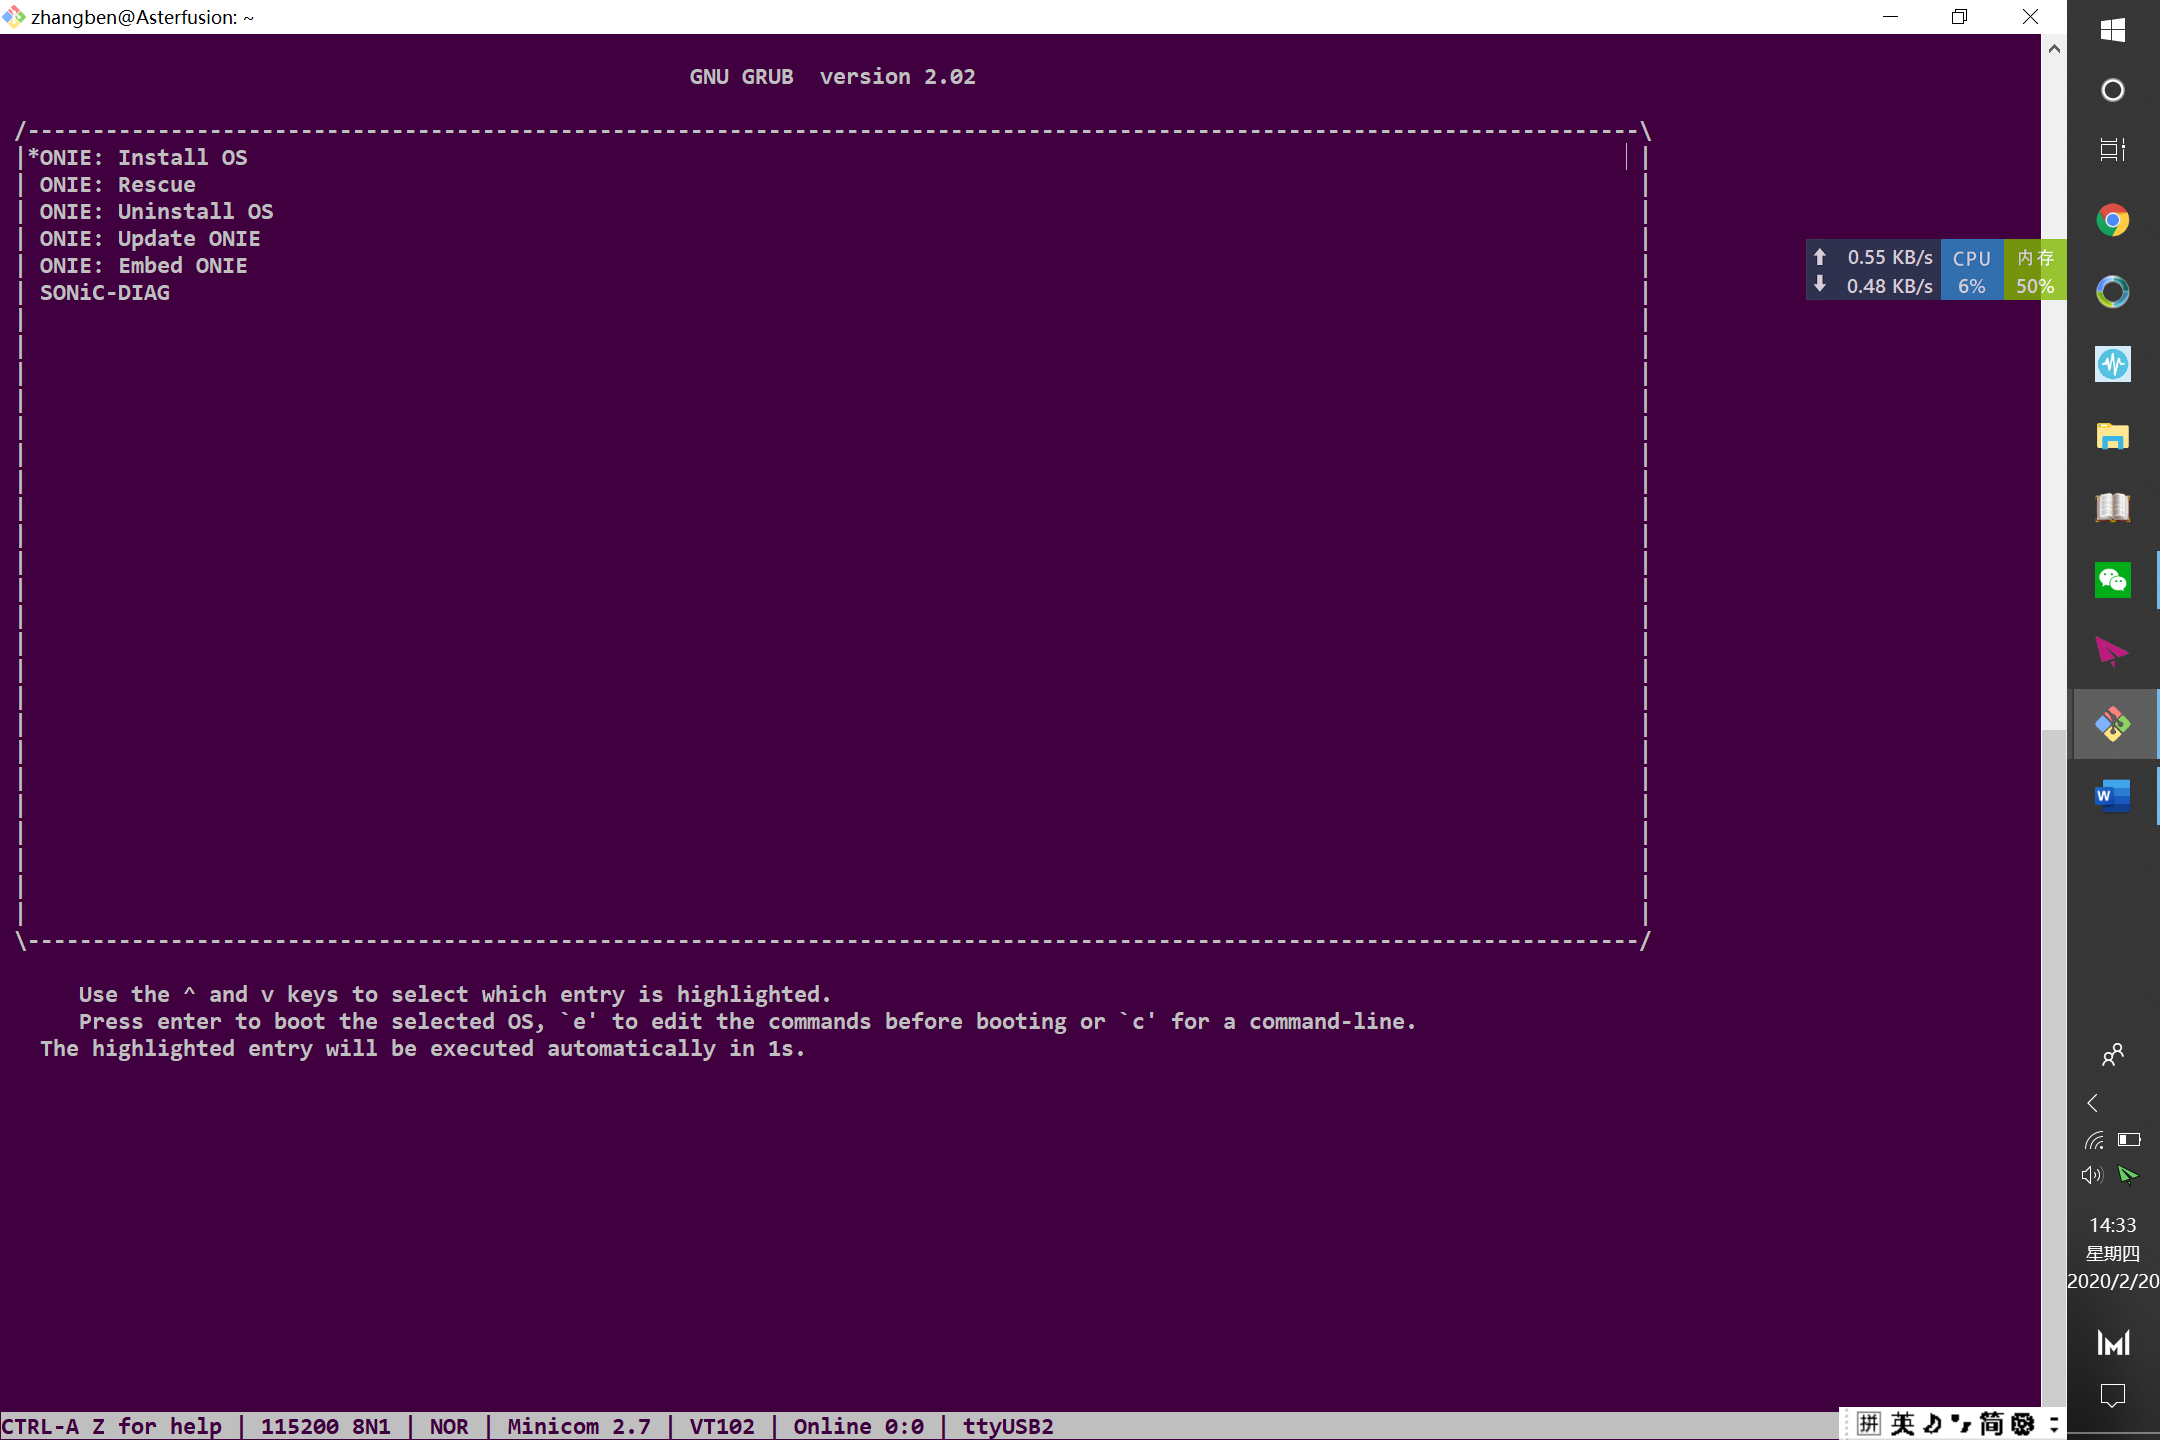
- After the configuration is complete, log in to the switch via the serial port, enter the ONIE GRUB Menu and select Install OS to automatically configure the installation.
DHCP, TFTP Configuration on Ubuntu
Section titled “DHCP, TFTP Configuration on Ubuntu”DHCP Configuration Guide
Section titled “DHCP Configuration Guide”- Install DHCP service. Install isc-dhcp-server.
sudo apt install isc-dhcp-server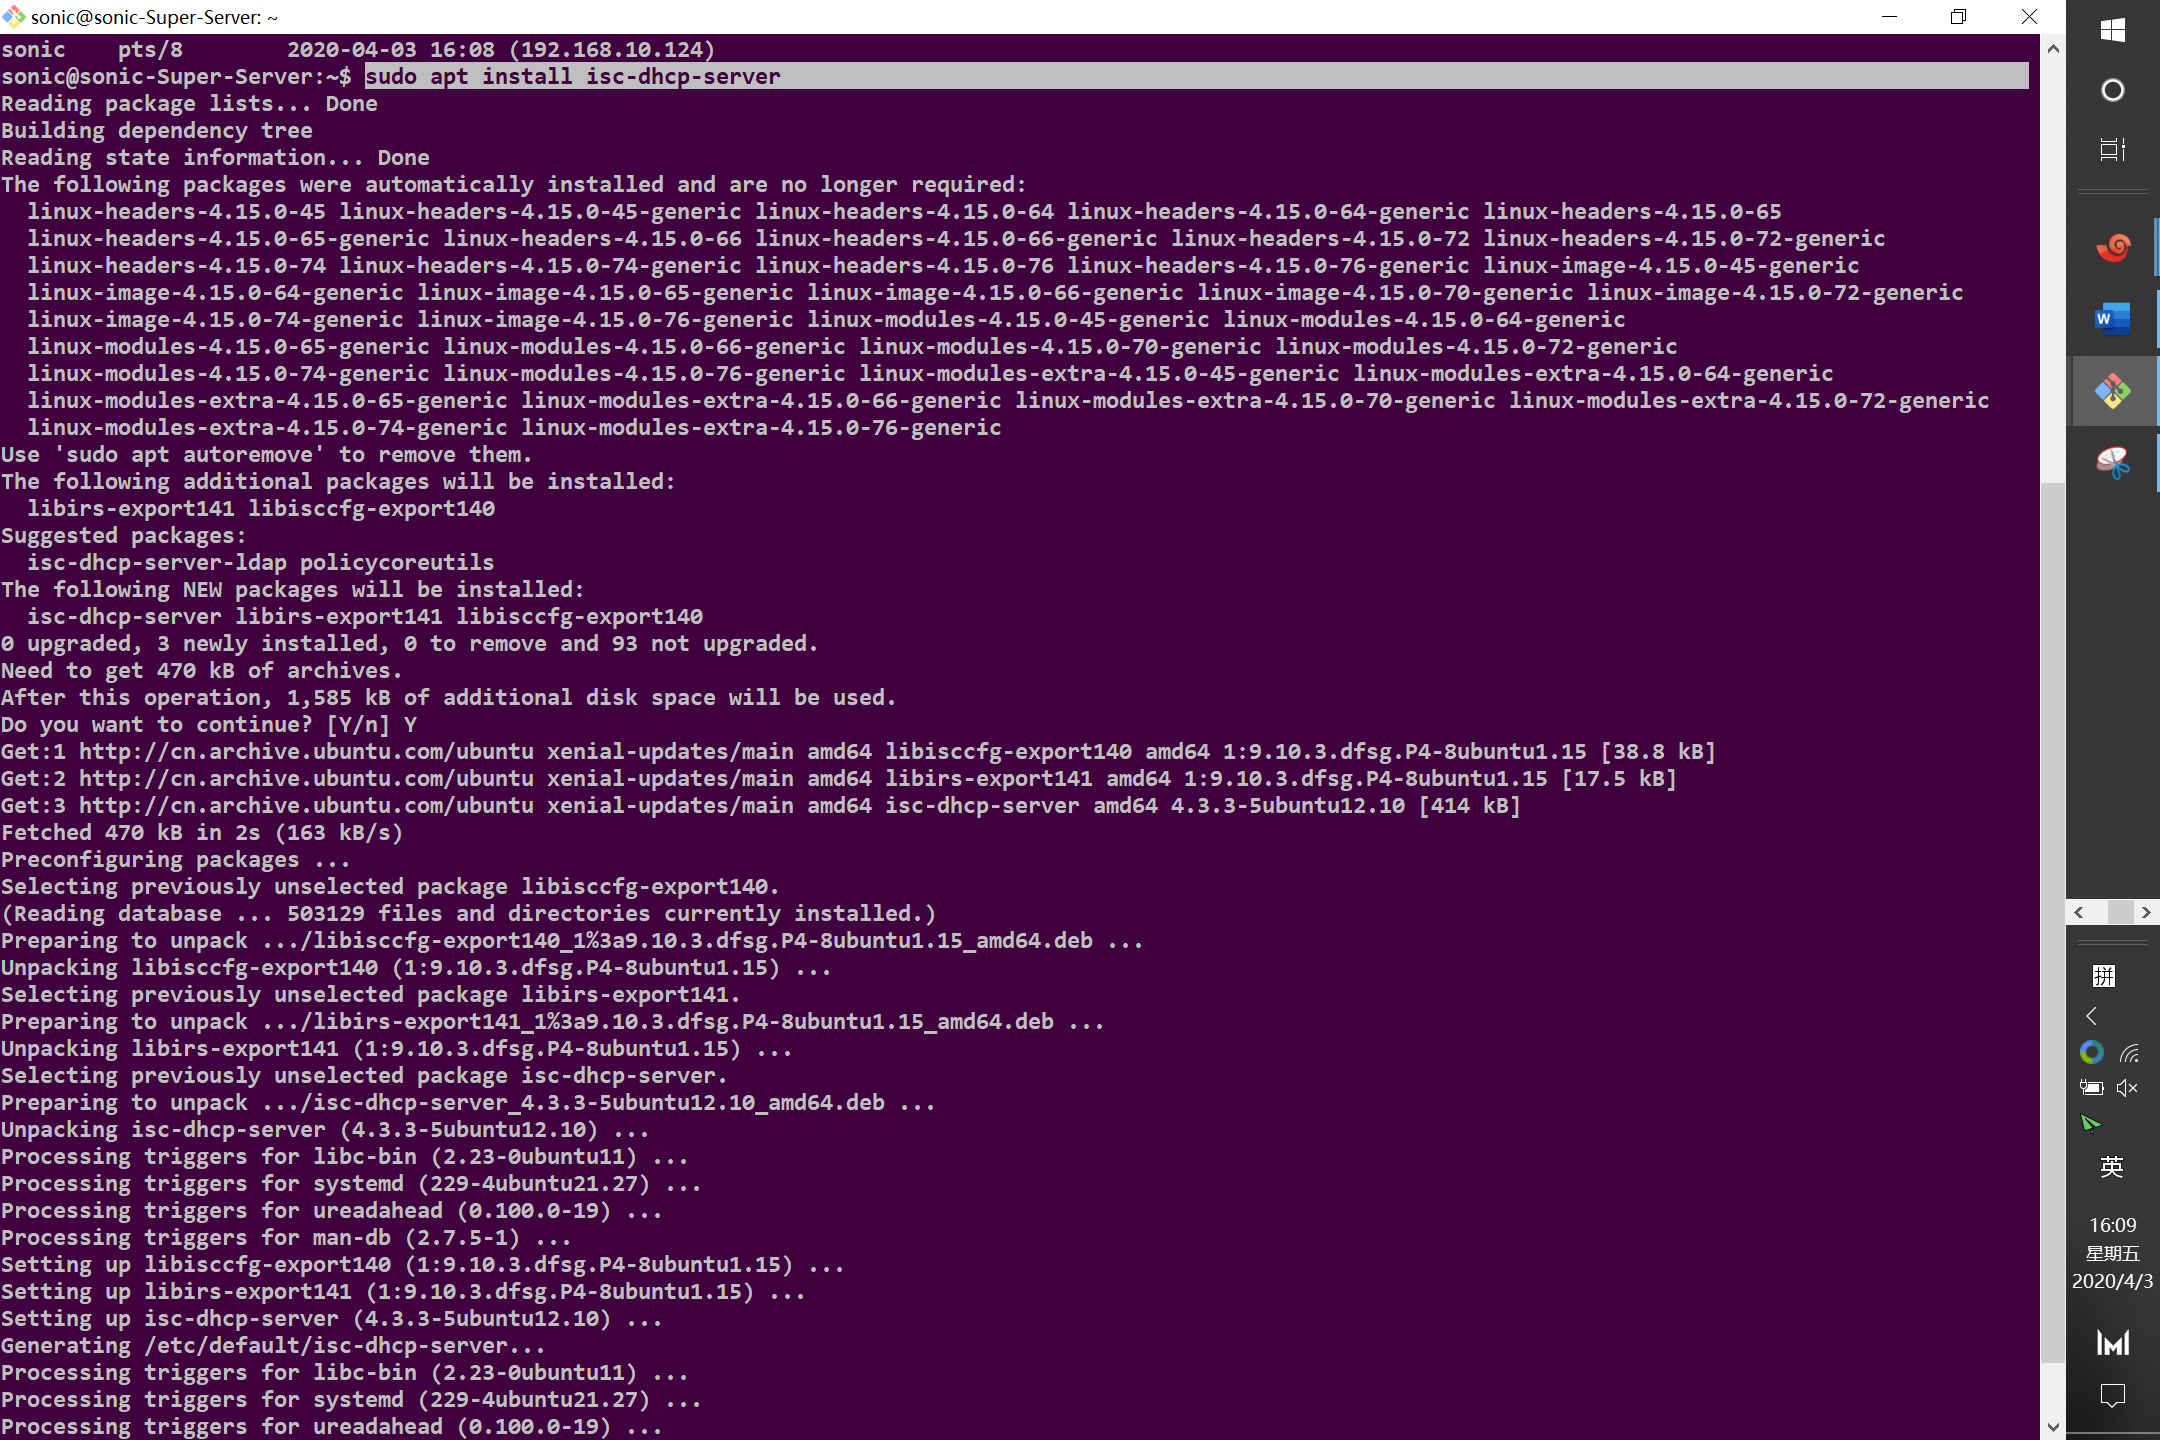
- View server NIC information.
ifconfig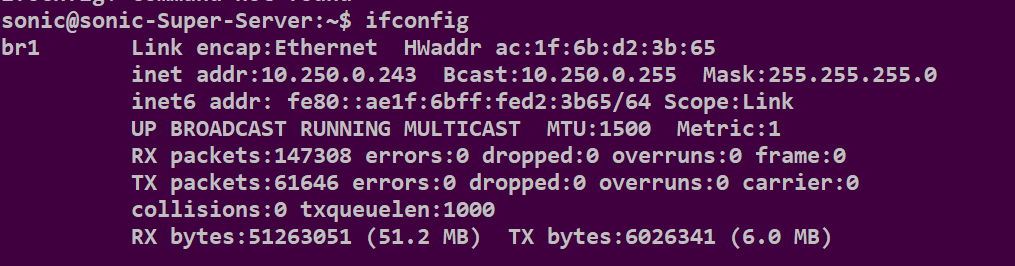
In the picture above, the NIC name of the server is br1.
- Modify information about the NIC in DHCP configuration file.
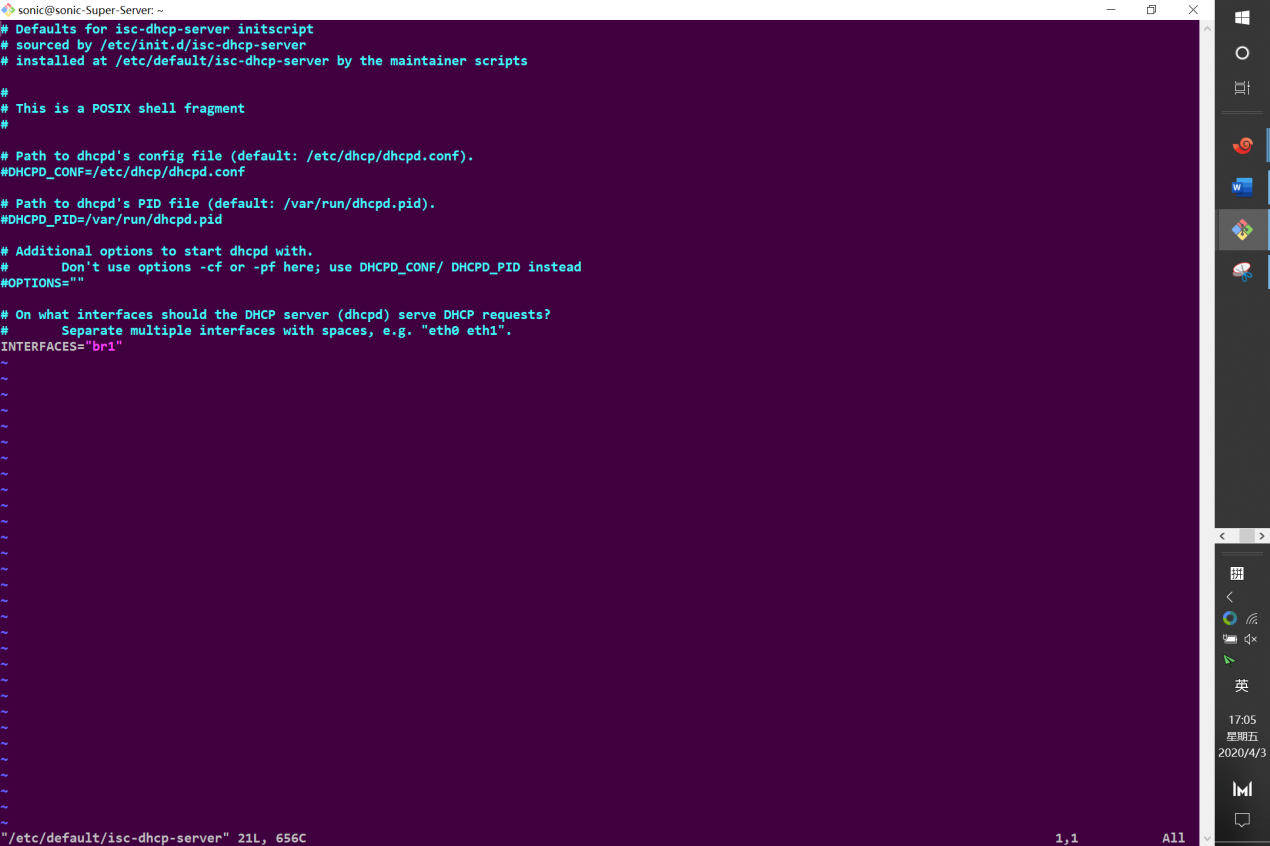
sudo vim /etc/default/isc-dhcp-serverComplement INTERFACES="br1"
- Configure the
/etc/dhcp/dhcpd.conffile
sudo vim /etc/dhcp/dhcpd.conf- Comment out
"option domain-name-servers ns1.example.org, ns2.example.org".
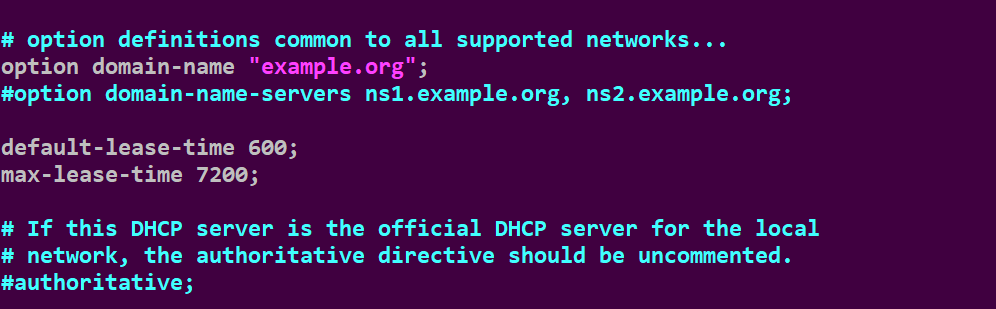
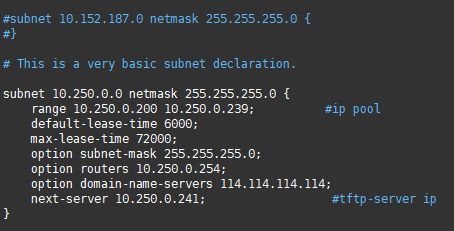
- Add the following information (see appendix for details).
- Restart DHCP service.
sudo service isc-dhcp-server restart- Check if DHCP is working properly.
sudo netstat -uap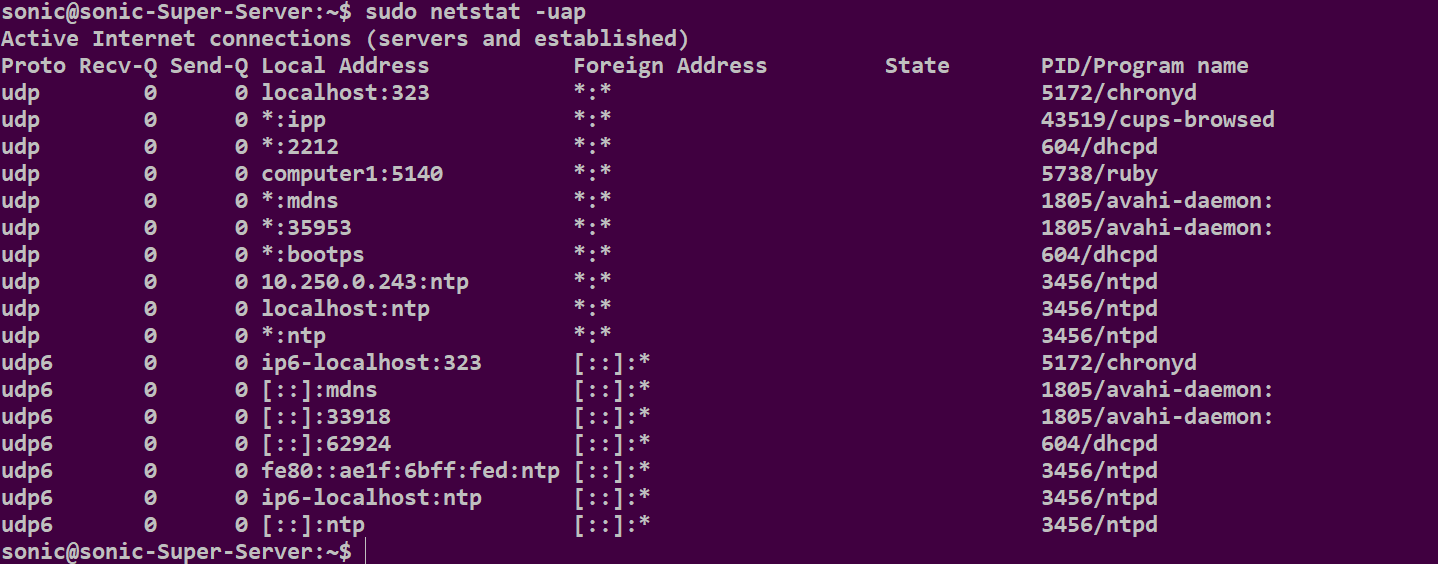
If dhcpd service appears in the program name column, the dhcp service is running normally. When finished, proceed to the TFTP service configuration step.
TFTP Configuration Guide
Section titled “TFTP Configuration Guide”- Download the TFTP server.
sudo apt-get install tftpd-hpa
- Create a new folder sonic-install in the root directory (/) and assign permissions.
mkdir sonic-installchmod 777 sonic-install- Copy the image file to the path /sonic-install.
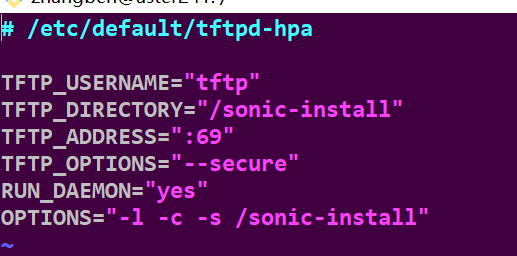
- Modify the tftp server configuration file.
sudo vim /etc/default/tftpd-hpaModify the content as follows.
- Restart the service.
sudo service tftpd-hpa restart- Check the status of the service.
sudo service tftpd-hpa status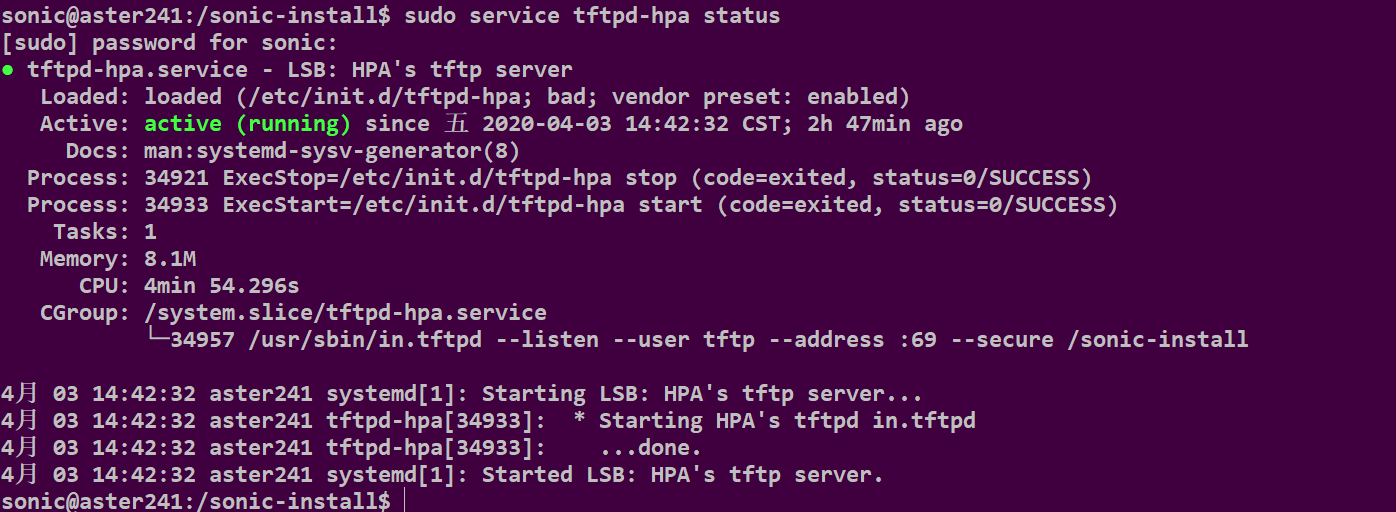
If the running status is active (running), that means TFTP is running successfully.